Posts

Showing posts from 2014

Flight at Sunrise

Image
"Flight at Sunrise" is the 4th UFO Challenge quilt I have completed this year for Missouri River Quilt Guild's challenge. We pre-select 6 UFO quilt projects we want to complete in 2014 and have 2 months to complete the quilt that is drawn for that time period. I pieced "Flight at Sunrise" in 2008 and put it away to quilt at a later date. As with many quilters, life gets in the way and projects don't get completed. This UFO challenge has been good for me, making me dig into my stack of UFO's and get some of them completed. I quilted the "birds" first then the background. This is the first time I started at the bottom of the quilt and worked my way up when quilting the background. I usually roll the quilt back to the top and work my way down. This time, I quilted it from the bottom to the top so that I could see where the colors were changing in the background fabric and be prepared to change thread - and hopefully not quilt the wrong

Double Wedding Ring Quilt Top

Image
This is a Double Wedding Ring quilt top that I purchased this summer. It isn't that old, but I liked all the different fabrics in it. It is machine pieced and looks like a template was used. The pieces in the rings have rounded edges. There are a wide variety of fabrics in this top. I can identify upholstery fabric, single knit, damask, barkcloth, seersucker, flannel, and cotton, along with a couple of pieces that look like feedsack. I thought it was interesting that a few of the patches were sewn in backwards. I wonder if it was done on purpose?

Vintage Goose Track Blocks

Image
I purchased 13 of these Goose Track blocks at an antique store/flea market in Arkansas last month. Most of them are hand stitched, but a few are machine stitched. None of them are the same.  Some of the patches are pieced to make the fabric big enough for the patch - and not always with the same fabric as you may be able to see in the block below on the crossbar on the left. The fabric in the background of this block shows 3 of the color variations the pattern came in. I  have been researching these blocks, but haven't determined the time frame for the fabrics. I'm looking for more resources for my research at this point. The conversation print in this block is a child kicking a ball with a running dog. Here is a red ground with the same print as the first photo. A yellow and brown floral print is also included.

Vintage Lonestar Quilt top

Image
I purchased this Lonestar quilt top at an antique store in Mountain Home, Arkansas last month. I have never attempted to piece a Lonestar myself and jumped at the opportunity to own one. I haven't done any research on this top yet, so I don't have an estimated age. The star is hand pieced but the set in squares and triangles are machine pieced. The fabrics are all solid cottons with some chambray and denim. The top measures 83 x79 inches. This top has some issues with fullness in the corner squares. The top had been laundered after piecing as is evidenced in the frayed edges of the border. Also, the denim pieces frayed and came loose from the stitching. I hand stitched the lose pieces back in place. I haven't decided what to do about the frayed border. It will have to be trimmed in order for binding to attach securely, but I don't know if I will be able to keep the curve in the piecing, or if I'll have to cut it flush to make a straight edge. Decisions ye

Yellow Rose on Blue

Image
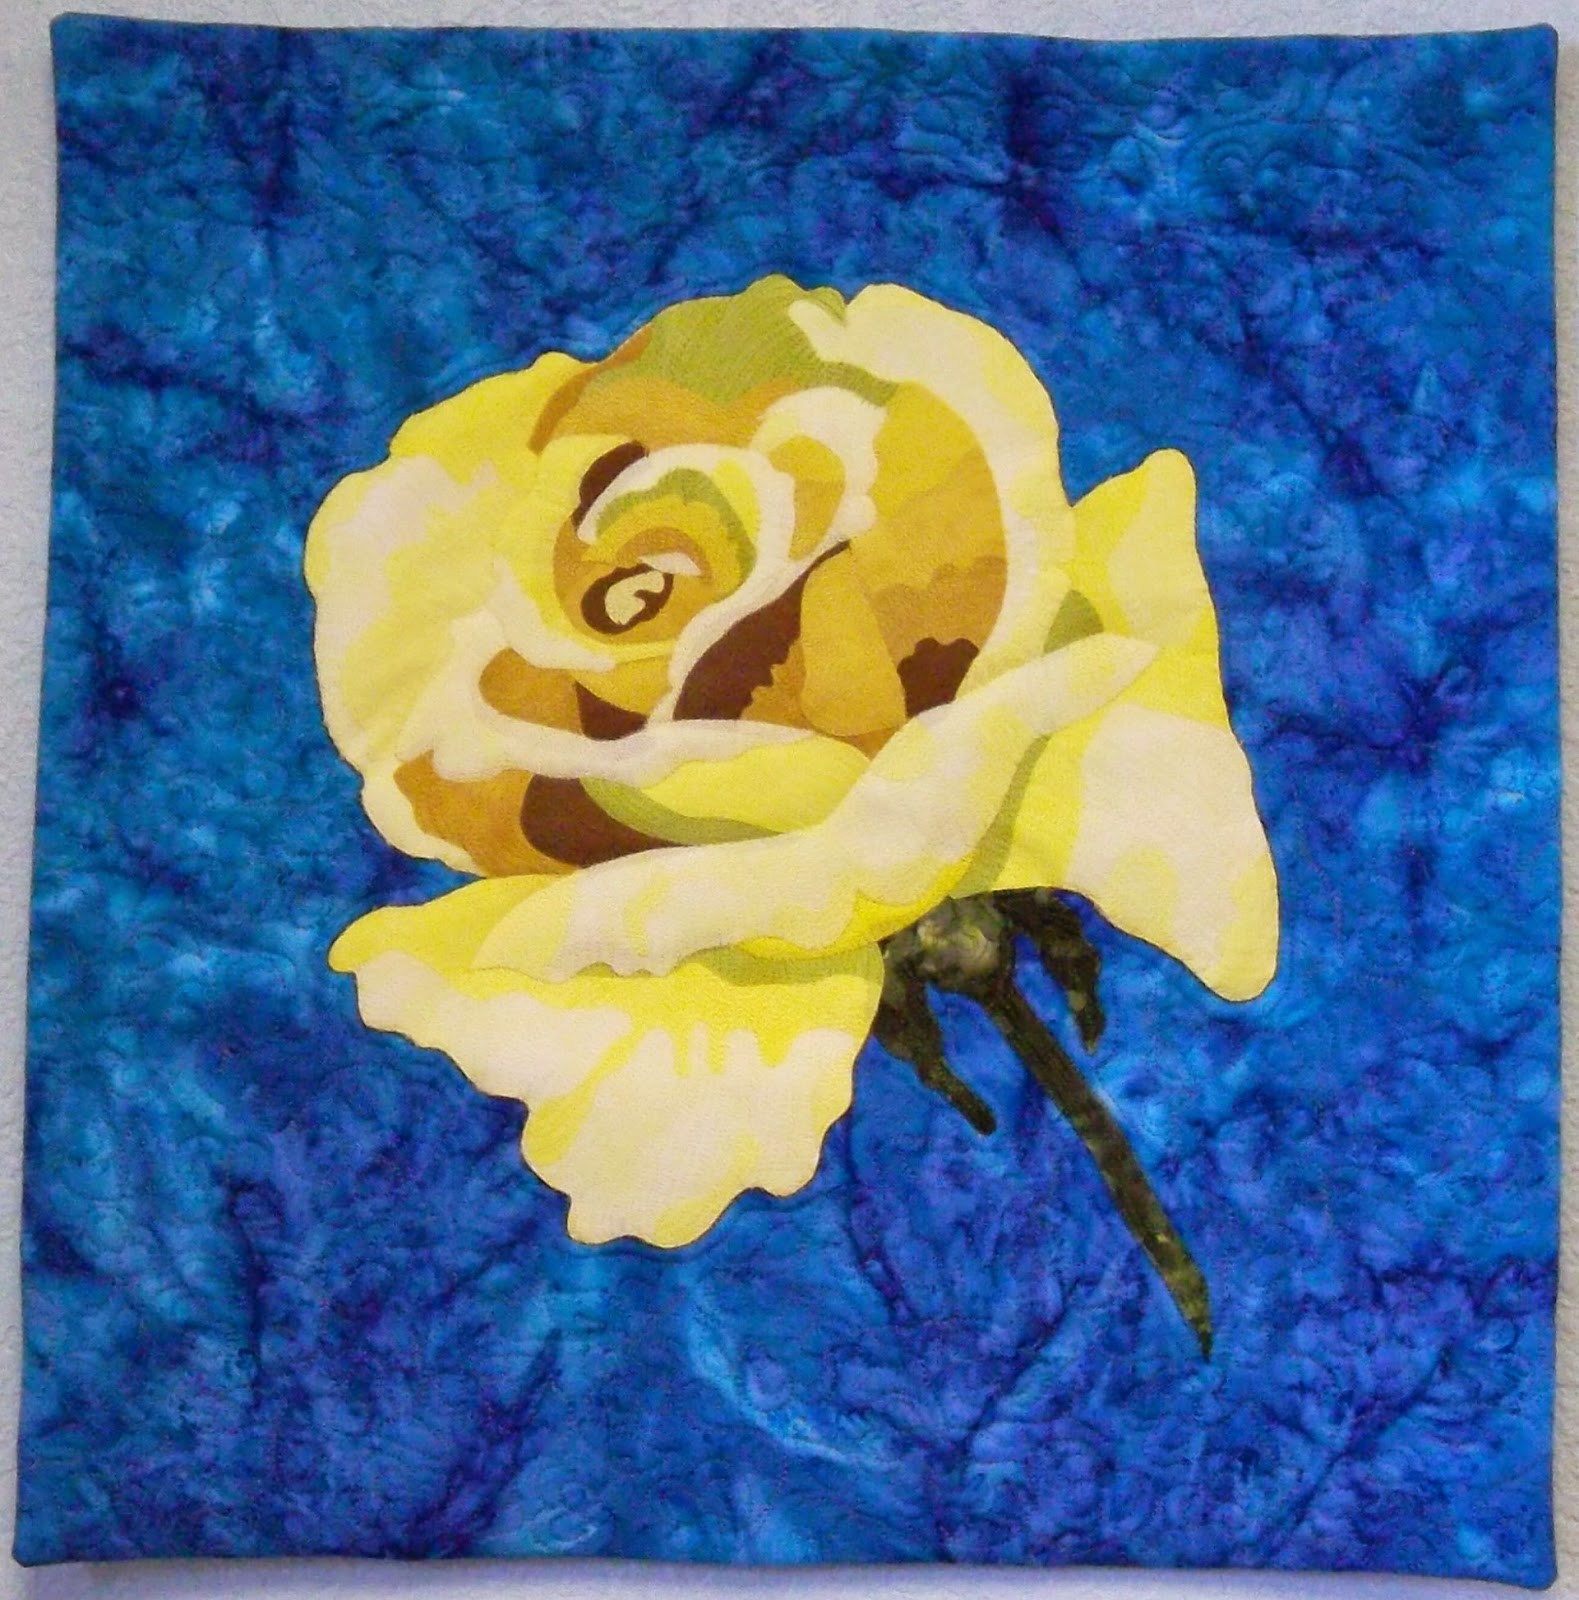
After working on the " Yellow Rose " quilt, I had another rose applique to do something with. This time I decided to use a contrasting background to make the rose pop. This piece of blue batik worked well with the yellow fabric in the rose. This quilt hangs in my office.

Diamond Quilt

Image
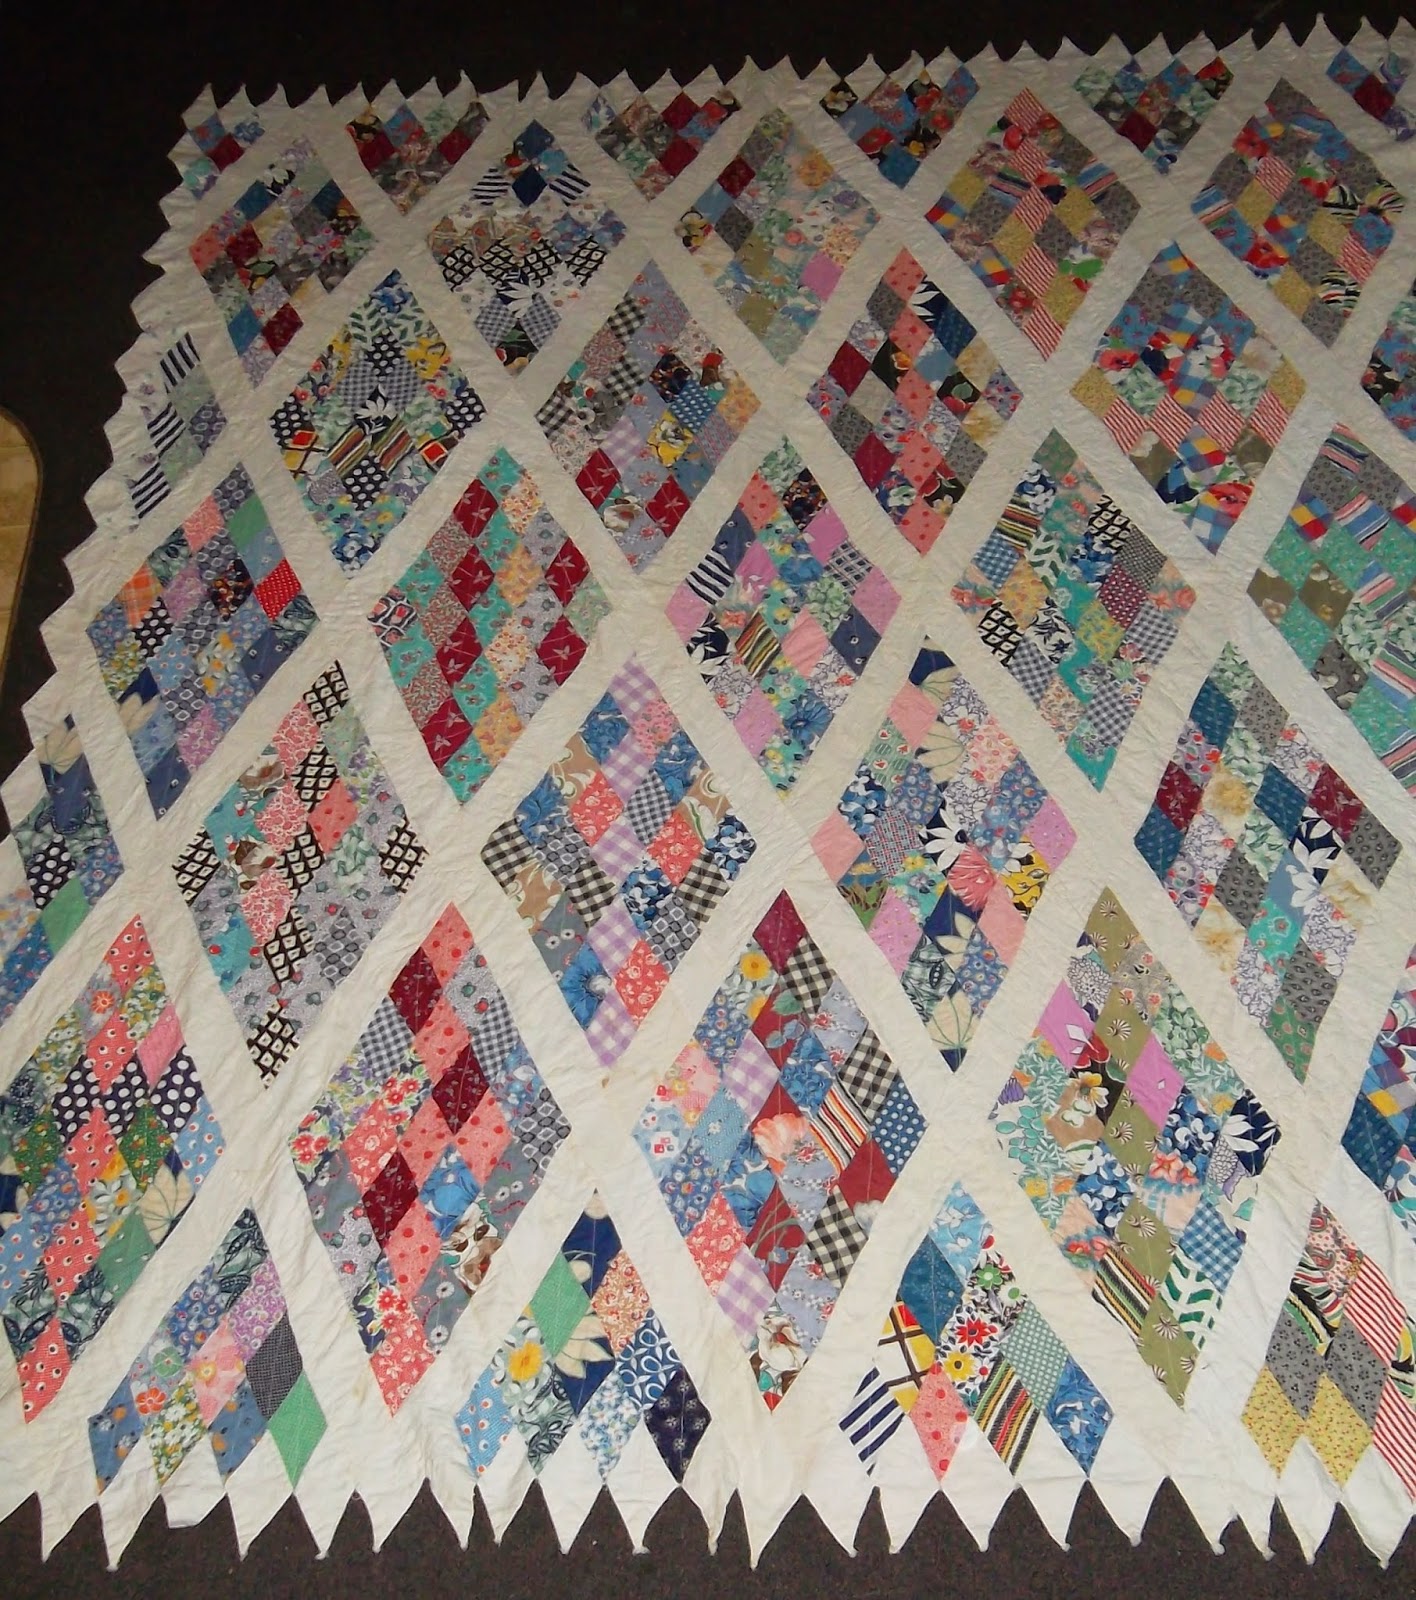
This diamond pattern quilt is the first quilt I have purchased. I found it in Mountain Home, Arkansas at "Antiques and Uncle Junks" store. It is mostly feed sack fabrics. The sashing is also diamond shapes cut from plain feed sack fabric. There is no batting in the quilt and it is machine quilted. using straight line stitching. The edges are diamond shaped.

Vintage LeMoyne Star Quilt Treasure

Image
While traveling through southern Missouri yesterday, we stopped at several antique shops to browse. I found this quilt at the same flea market a year ago but passed it up. Since it was still there, I decided it needed to come home with me. The quilt is 82x66 inches with 6.5 inch blocks and 2.5 inch sashing with cornerstones.  The quilt is hand quilted and hand pieced using a variety of prints and solids. Some of the fabrics look like 1940's to me. Most I am not certain about at this point. I have lots of research ahead of me on this quilt.  The binding is a twill tape or bias binding tape. It is machine stitched to the back and hand stitched to the front using green thread. The batting appears to be a thin cotton. The flour sack backing has the stamped images facing the batting. This is the darkest image and I can make out "Delicious Flour" in the printing along with some wheat stems surrounding the wording. This is only the second completed vint

Blue Tigers 2

Image
"Blue Tigers 2" is a recreation of a previous quilt that I had made titled "Blue Tigers". I have sold "Blue Tigers" and decided to make another quilt like it. After all, this is a quilt made from a photo of my cat. My daughters thought I should make another quilt and keep this one. At this point I have the applique done and will be ready to be quilted after I paint the eyes on the cat. The beading will be added last. The colors are brighter in "Blue Tigers 2" - more turquoise this time. I have also left off the fused border at this point. The original "Blue Tigers" is below. "Blue Tigers"

Another Yellow Quilt

Image
Fancy Threads Color Quilt Project is due the end of April. I have completed my yellow rose quilt for the project, but went ahead and made another yellow quilt to bookend the color project in yellow. The quilting still needs to be done as well as some embellishments to the flowers after it is quilted. This is a pattern I had designed previously, but made some changes to it to fit the Color Project. I designed the above quilt for an Alzheimer's Art Quilt Initiative (AAQI) auction a few years ago. It sold at Houston for $94. For the Color Quilt Project, the quilt needed to be much larger - 15x30, so I recreated the pattern in my Art 'n Stitch program and enlarged it to size. Instead of using falling leaves, I used light yellow flowers to give some balance to the quilt. I also changed the leaves in the tree to a layered affect since I was using all solid hand-dyed fabrics. I thought that would help add some texture and depth.

Machine Upgrades

Image
I've had my Gammill Classic longarm machine for 12 years. It started out as a non-stitch regulated machine. I upgraded to stitch regulated in 2009. My table is a 14 foot long table with pivitol access, but I wasn't able to sit down and quilt comfortable. Since my back has been giving me problems when I stand for long periods of time, I had to either upgrade, trade in, or sell. I decided to upgrade. My husband Paul and daughter Hannah and I worked yesterday evening getting the upgrade done. It was fairly easy thanks to my mechanical-minded hubby and daughter. Left to my own devices I would have messed it up. I'll be loading a quilt on it in a few days to try it out.

Quilting the Yellow Rose

Image
Quilting is done on the yellow rose quilt. It is ready for binding.

Vintage Bowtie Quilt

Image
I purchased this bowtie quilt top at a flea market in Mountain Home, Arkansas last year. It was machine pieced from fabrics over a couple of decades from what I can determine. It looks like 30's & 40's fabrics and maybe some newer fabrics as well. I kept the quilting simple with outlining the bowties and quilting a spin feather in the negative spaces. I think that gave the quilt a lot of motion. It's all trimmed and squared up, ready for binding. I just have to choose the binding fabric and get started stitching.

Ready for Thread Painting

Image
I added a shadow around the rose to help it stand out against the background, then attached it to the background with a zig-zag stitch. I also cut out the background that is behind the rose to give it a smoother finish. The seams in the pieced background would cause me problems when I started thread painting, and would leave ridges in the rose. It is now ready to be fused to a piece of Decor Bond. Then I'll start the thread painting.

More Progress

Image
In order to have the quilt finish at 15 inches wide, I had to add more width to the center of the quilt. I sliced  the middle section and added another pieced of fabric. This one is a shade which turned out to be an olive green. I also added another border to the top and bottom of the quilt top. The next step is thread painting.

Background

Image
I finished piecing the background this evening on the Yellow Rose quilt. So far I am please with the way it is progressing. I am still contemplating some changes to the rose, so I haven't fused it down. 

Background Changes

Image
I worked on the background for the Yellow Rose a bit more this morning. The left lower petal was blending into the background too much. The problem with monochromatic quilts is getting enough contrast so you don't lose your design. I cut out a section of the the left side of the background and replaced it with another piece of fabric. This is a shade that is several steps lighter than the shade in this sample below. I want the quilt to read "yellow" and the darker shade put too much olive green in the quilt. Although I like the look, I don't think it works with the guidelines of this quilt challenge.

Yellow Rose

Image
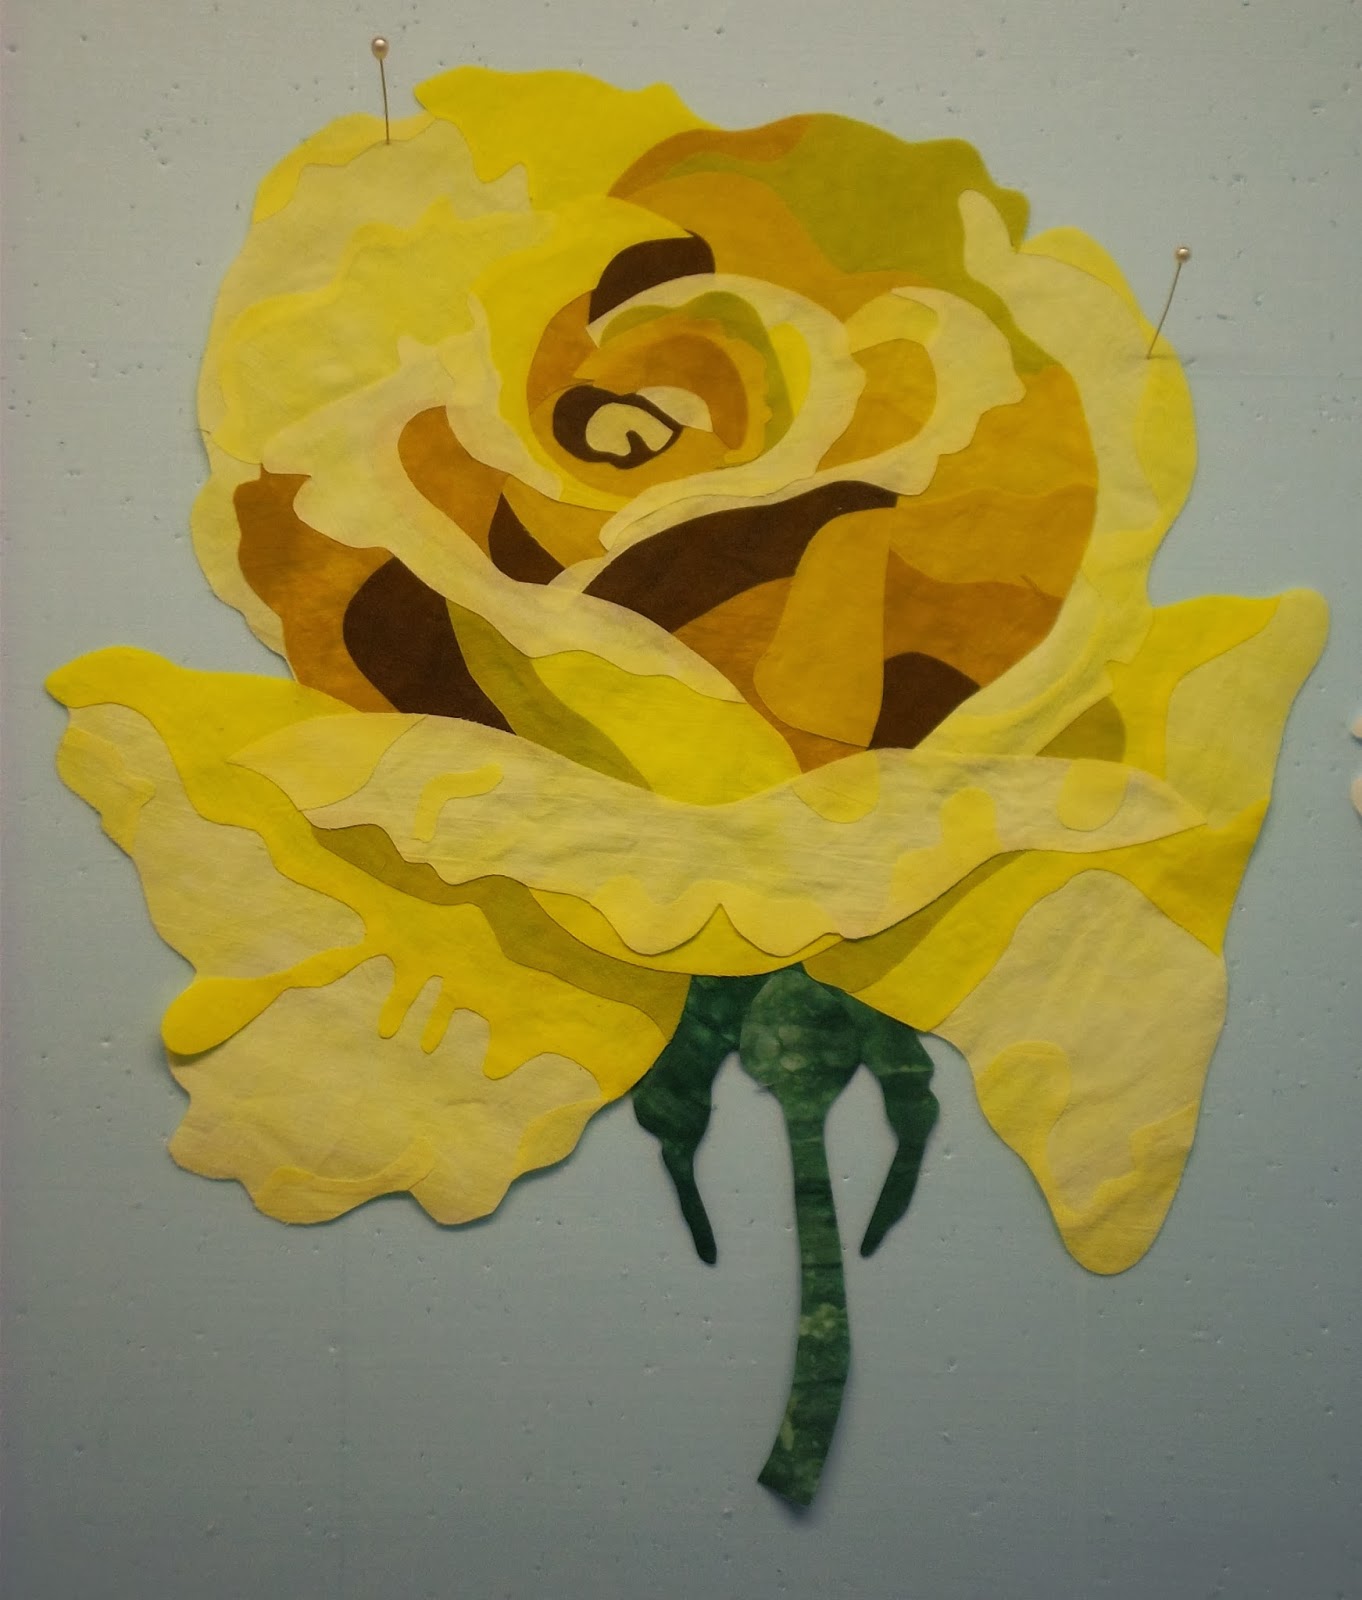
This yellow rose applique is to be part of the Color Quilt Project that "Fancy Threads" is creating. The color I have chosen for my quilt is yellow. We are to use any tints, tones, and shades of our color to put into a 15x30" quilt. We are also able to use small amounts of other colors in our quilts. I am trying out different backgrounds for the rose. The rose will be the center of the quilt. I have another design worked out for the sections above and below the rose which I will post later as they are completed. The photo above uses a pure yellow in the center with a shade on the right and a tone on the right. This background uses a tint on the left of the pure yellow that is in the center with the same tone on the right as the photo above. .